How to start strength training at home with no equipment
A conservative first month of bodyweight training: five movement patterns, sets and reps that make sense, rest days, and a phone camera to check your form.
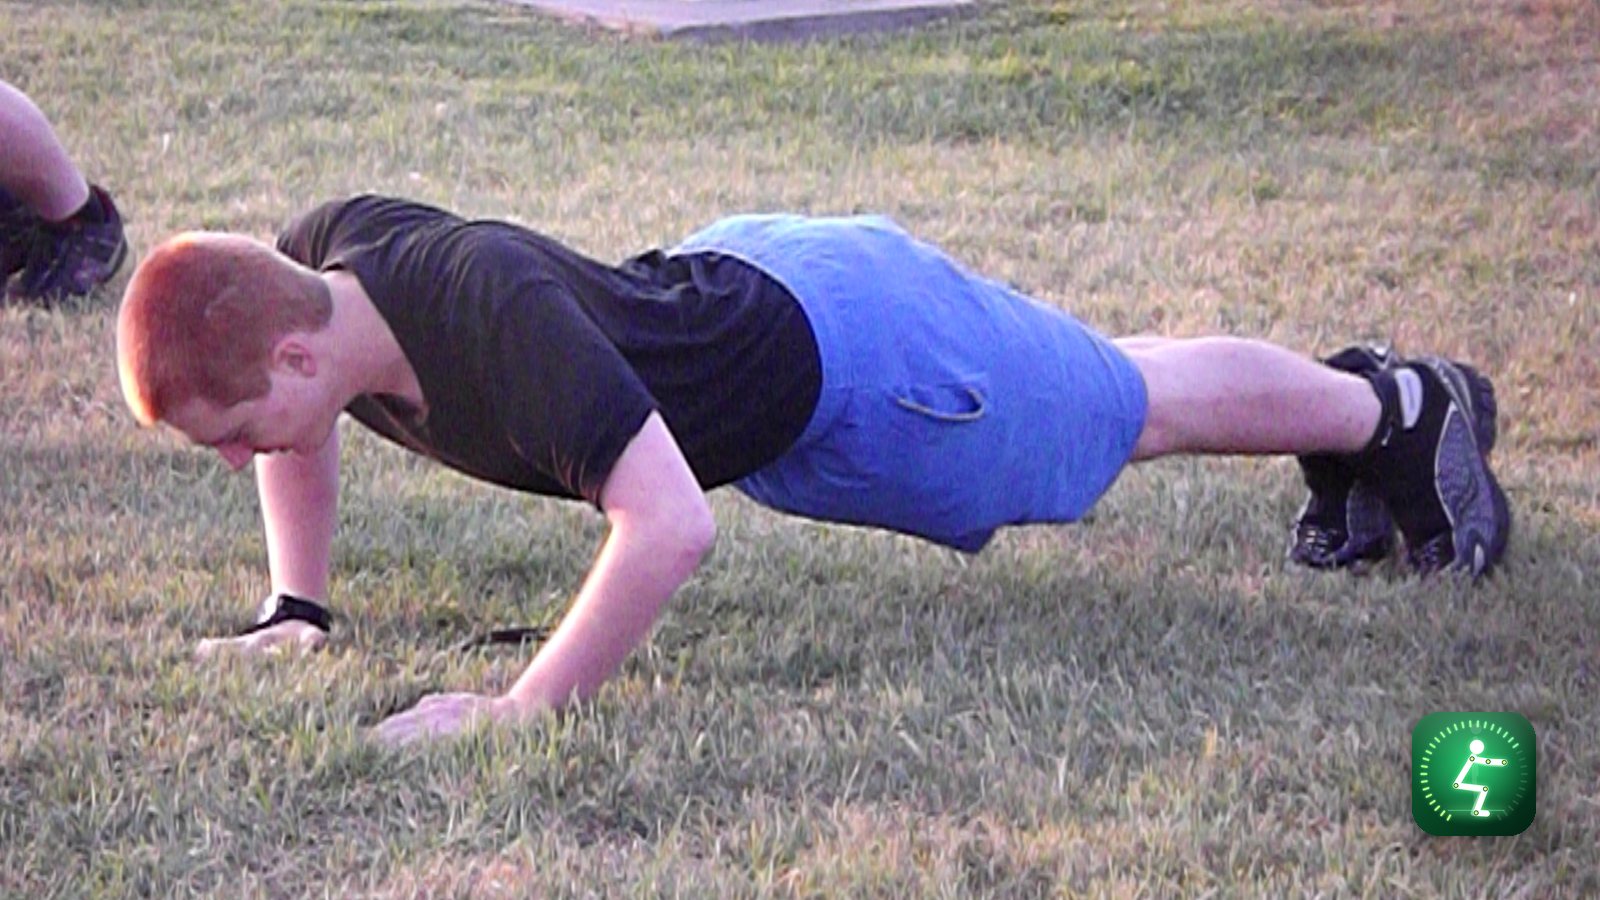
Most people who start strength training at home quit the same way. They do a hard video workout on day one, can barely walk down the stairs on day two, skip day three, and decide it isn't for them. The problem wasn't effort. It was too much, too soon, with no plan for week two.
The US Physical Activity Guidelines recommend muscle-strengthening activity on two or more days a week, working all the major muscle groups. That's the bar, and you can clear it in your living room with no equipment at all.
Five patterns cover the whole body
Forget long lists of exercises. Nearly every strength move is a version of five movement patterns. Choose one beginner version of each:
- Squat: a bodyweight squat to a chair. Sit back until you touch the seat, then stand up.
- Hinge: a glute bridge on the floor, or a hip hinge with your hands on your thighs, pushing your hips back with a flat back.
- Push: a push-up with your hands on a counter or wall. The higher your hands, the easier it is.
- Pull: the hardest one without equipment. Try a towel row: loop a towel around a sturdy door handle, lean back and pull yourself in, with the door closed so it can't swing. A prone "Y" raise on the floor works too.
- Carry and core: a plank on your knees or toes, a dead bug, or carrying two full grocery bags around the house for 30 seconds.
Sets, reps and a first month that works
For the first month, the goal is consistency, not exhaustion.
- Weeks 1 to 2: two sets of each pattern, 8 to 10 reps (or 20 to 30 seconds for planks and carries). Stop each set with two or three good reps left in you.
- Weeks 3 to 4: three sets. When you can do 12 clean reps, make the move a little harder: lower your hands for push-ups, slow the squat down on the way down, or pause at the bottom.
- Rest: do the full routine two or three times a week, with at least one rest day between sessions. Muscles adapt on the days off. Walking on those days is fine.
Progress should be boring and steady: one more rep, a slightly harder version, a slower lowering. If every session leaves you wrecked, pull back.
The first month isn't about getting strong. It's about becoming someone who does the second session.
Check your form with your phone's camera
Without a trainer in the room, the biggest risk is building bad habits: knees caving in on squats, hips sagging in push-ups, the lower back doing the hinge's work. You can catch most of these by propping your phone against a wall, recording a set from the side, and watching it back. For a squat-specific walkthrough, see how to check your squat form with nothing but your phone.
Form Coach goes a step further. Lean your phone against the wall, step back and start moving. It draws a live skeleton over your body, counts reps for squats, push-ups and sit-ups from the front, side or behind, scores the form of every rep, and gives short cues during the set. It can build a 4-week plan from your goal, how many days a week you train and your level, and it adjusts based on how your form holds up. It's free, needs no account, and your video never leaves your phone.
A short, sensible note: this is general guidance, not medical advice. If you have a heart condition, an injury, are pregnant, or haven't been active in a long time, check with a doctor before starting. Sharp pain, as opposed to muscle effort, means stop.
Do two sessions this week, keep them easy, and by the end of the month you'll probably find that the first chair squat feels like a warm-up.
Recent posts
-
How-to
How to make a photo-a-day timelapse of your kid growing up
Oct 03, 2026
-
How-to
How to appeal a denied health insurance claim
Oct 02, 2026
-
How-to
How to settle up money after a poker or card night, fairly and fast
Oct 01, 2026
-
How-to
How to plan a national park road trip that isn't all driving
Oct 01, 2026
-
AI & Trends
How to tell if an app is selling your data
Sep 30, 2026
-
How-to
Why your espresso tastes sour or bitter, and the one change to make
Sep 29, 2026
0 comments
No comments yet — be the first.
Leave a reply
Sign in with Google to join the conversation. We require a quick sign-in to keep comments spam-free.
Sign in with Google to comment